POV-Ray: Lighting
This page is a short example of POV-Ray's Lighting. If you don't understand it, please see POV-Ray: Intro.
POV-Ray has a lot parameters and types to control the lighting of a scene.
Default Lighting

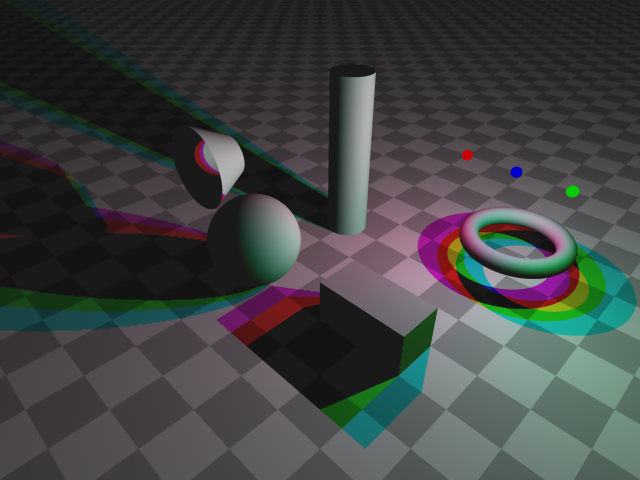
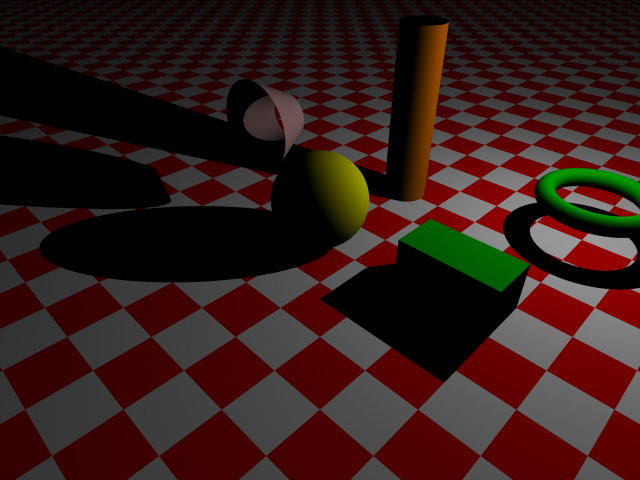
light_source { <4,4,4> color White}
. Such a light source is a point source with infinite
power, shines in all directions, and cast hard shadows.
lighting_norm.pov
(Note that there's also a white ambient light present by default. We'll discuss it below.)
Spotlight
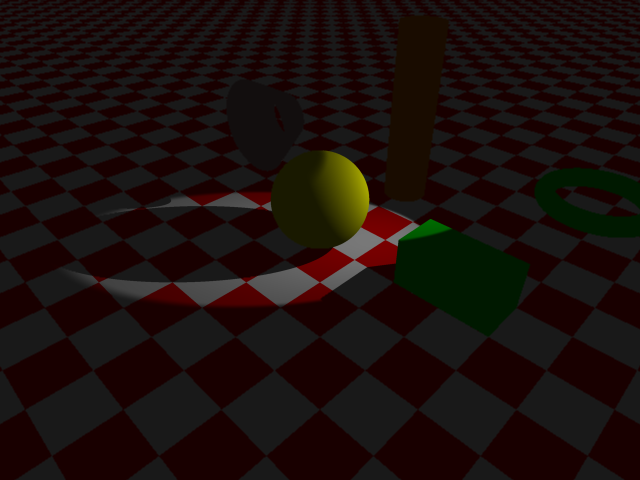
Here's the syntax for spotlight.
light_source {
  <4,4,4>     // position
  color White
  spotlight    // specifies spotlight
  radius 15    // cone opening from its axis in degrees. Light start to dim outside of this.
  falloff 20   // outside of this, there is no light.
  tightness 1  // over-all coherence of the light beam
  point_at <0, 0, 0>
}
If radius and falloff is the same, then the shadow is sharp. Leave tightness to something like 10. If tightness is large like 1000, it has the effect of narrowing the radius.
The keyword “spotlight” can be replaced with “cylinder”. Cylinderical light is similar to spotlight except it doesn't expand out like a cone.
Area Light
Area light is like a rectangular array of lights (like a matrix of light bulbs) that produces multiple shadows. Area light is a lazy way to simulate real world where lights almost come from everywhere (because of reflection) and cast multitudes of shadows.
To specify area light, give two vectors that represents the orientation and side lengths of the light plane. Two integers m and n follow the vectors, for m by n number of bulbs.
light_source {
  <4,4,4> // position of a coner of the light plane
  color White
  area_light <3, 0, 0>, <0, 3, 0>, 2, 2 // light plane's edges; m by n bulbs
// adaptive 1 // if on, some rays will not be traced
// jitter // randomization of bulb's positions, emulating fuzzy shadow edges
}
Note: area_light is not exactly the same as a array of lights. It is more like a single light source that produce multiple shadows. (yes it is weird) If “shadowless” keyword is used, then area_light has no effect. (shadowless is discussed below) area_light is used just to simulate fuzzy shaddow edges in real life. If you really want a array of light bulbs, you should have multiple light_source{}. The difference between a array of light_source vs single light_source with area_light is apparent when objects's surfaces are shiny. Multiple light source will reflect several light points, while single light_source with area_light will only reflect a single light point.
Ambient Light
Without ambient light, places not directly hit by light will be completely dark. Ambient light in real life is a result of reflection, because no matter how black or dark a object, it will not absorb all light. (exception: black hole) Ambient light is really not a light, but the term is easily understood and refers to a general brightness of the whole scene.
POV-Ray has a ambient light by default. In all the images above, there is a ambient light present.
global_settings { ambient_light rgb <0,0,0> }
Shadowlessness and Fading of Light
A light source can be given a fading property. With fading on, the further away the less the power of the light ray. Fading is specified with keywords fade_distance and fade_power. Example:
light_source {
  <4,4,4>
  color White
  fade_distance 5 // starts to fade outside this
  fade_power 1 // if 1, linear. If greater than 1, exponential.
}
A light source can be given a shadowless property. It is useful in simulating ambient light in reality. It is done with the keyword “shadowless”:
light_source { <4,4,4> color White shadowless}
Showing the Lightbulb
Sometimes you want to show a sphere or other object to represent the light bulb. If you just put a object at the position of the light source, it will in fact enclose the light source and make the whole rendered image black. As a work around this problem, POV-Ray provides a way to assign a object to the light source, using the keyword “looks_like”. Like this:
#declare redBulb = sphere { <0,0,0>, .1
 texture {pigment{color Red} finish {ambient .8 diffuse .6}}
}
light_source {
  <3,3,3>
  color Red
  looks_like { redBulb }
}