Emacs: magit-mode for git
Magit tutorial for beginner.
All you need to know is Alt+x magit-status and 6 keys:
- Tab
- Toggle show diff.
- s
- Stage
- u
- Unstage
- c c
- Commit
- P
- Push
- F
- Pull

magit-status. 2017-03-29
Following are details.
emacs magit-mode is the best interface to the git version control system.
I assume you have used the following git commands in terminal:
git statusgit addgit commitgit push
[see Git Basics]
Install Magit Mode
Install it thru MELPA. [see Emacs: Install Package with ELPA/MELPA]
Using Magit to add, commit, push
First, open a git controlled file, or open its directory in dired.
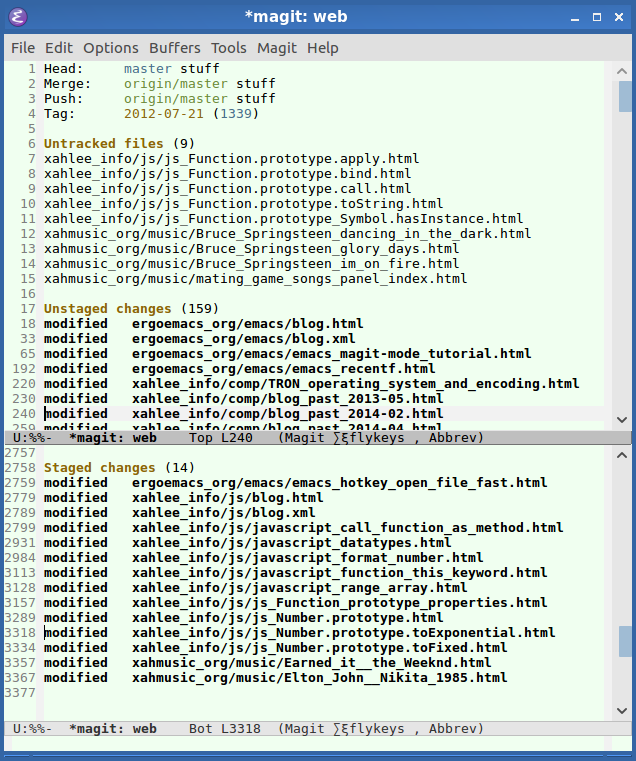
Alt+x magit-status to see the project's status.
Move cursor to a line, press Tab to toggle “diff”. (Command name magit-section-toggle)
- Press s
-
Add the file under cursor to stage. (
magit-stage) - Press S
-
Add all tracked files to stage. (
magit-stage-modified) - Press u
-
Unstage the file under cursor. (
magit-unstage) - Press U
-
Unstage all staged files. (
magit-unstage-all) - Press c c
-
Write a commit message, then Ctrl+c Ctrl+c to commit. (
magit-commit-popup)
Git Push
- Press P
-
Push. (
magit-push-popup)
Git Pull
- Press F
-
Pull. (
magit-pull-popup)
Git Log

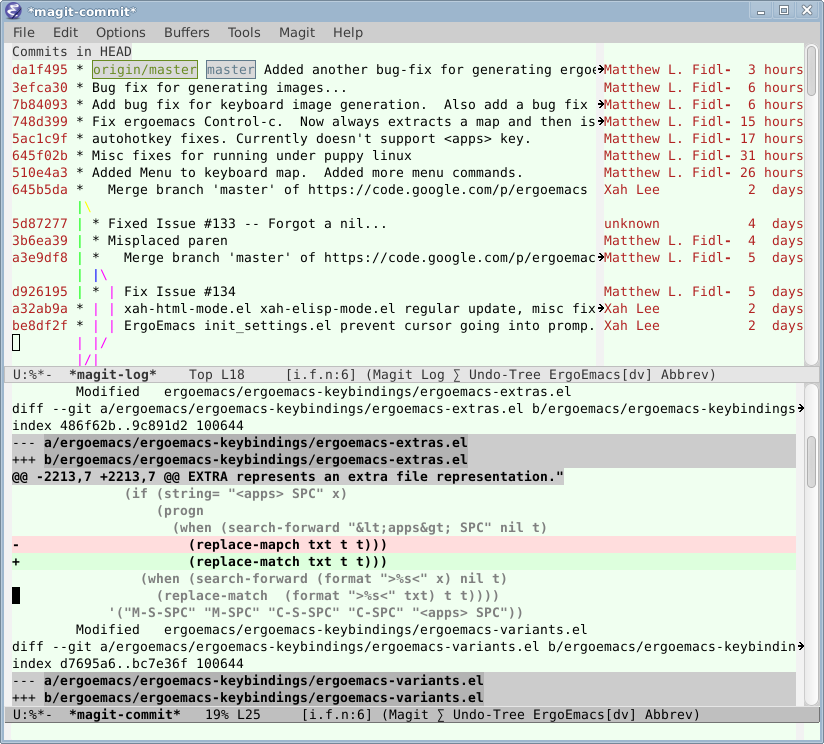
magit-log
Alt+x magit-log to see your commit log. Press Enter on a line to see its diff.
View Documentation
Magit comes with complete documentation. It's at the same dir magit-mode.el is at.
To view the doc:
- Alt+x
describe-function, then typemagit-mode. - Click on the file name to open the source code file, then Alt+x
dired-jumpto go into that dir. You'll see a file namedmagit.info universal-argument【Ctrl+u】, then Alt+xinfo【Ctrl+h i】, then type the file name.
Once you've done this, the Magit doc is added to the info index. So, you can just call info 【Ctrl+h i】 to view it next time.
[see Emacs: View Info Page]